Friday, October 24, 2014

another camisole, design 2, up-cycle

here is another one.

almost completed.


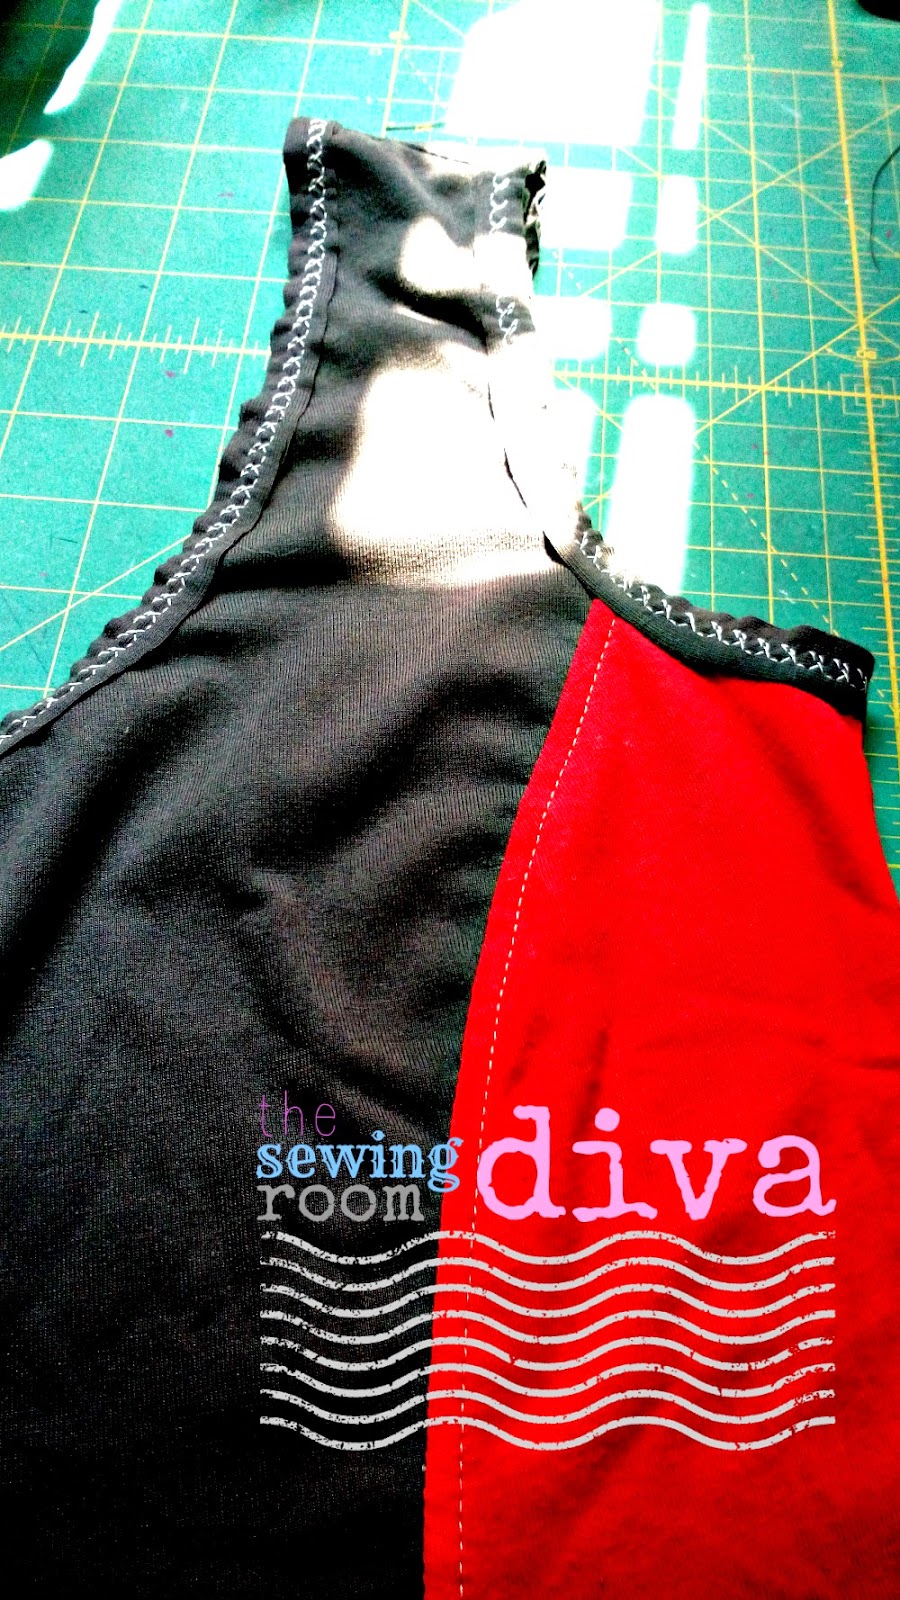
machine embroidery stitching to attach a long strip of the same material to reinforce the neckline and armhole

machine embroidery stitching to attach a long strip of the same material to reinforce the armhole

using just a single layer of a long 1/2" wide strip cut from the same material as the body of the garment


front

back


this is a really fun project.

cheers,
YunY

Thursday, October 23, 2014

the camisole - design 2, princess cut

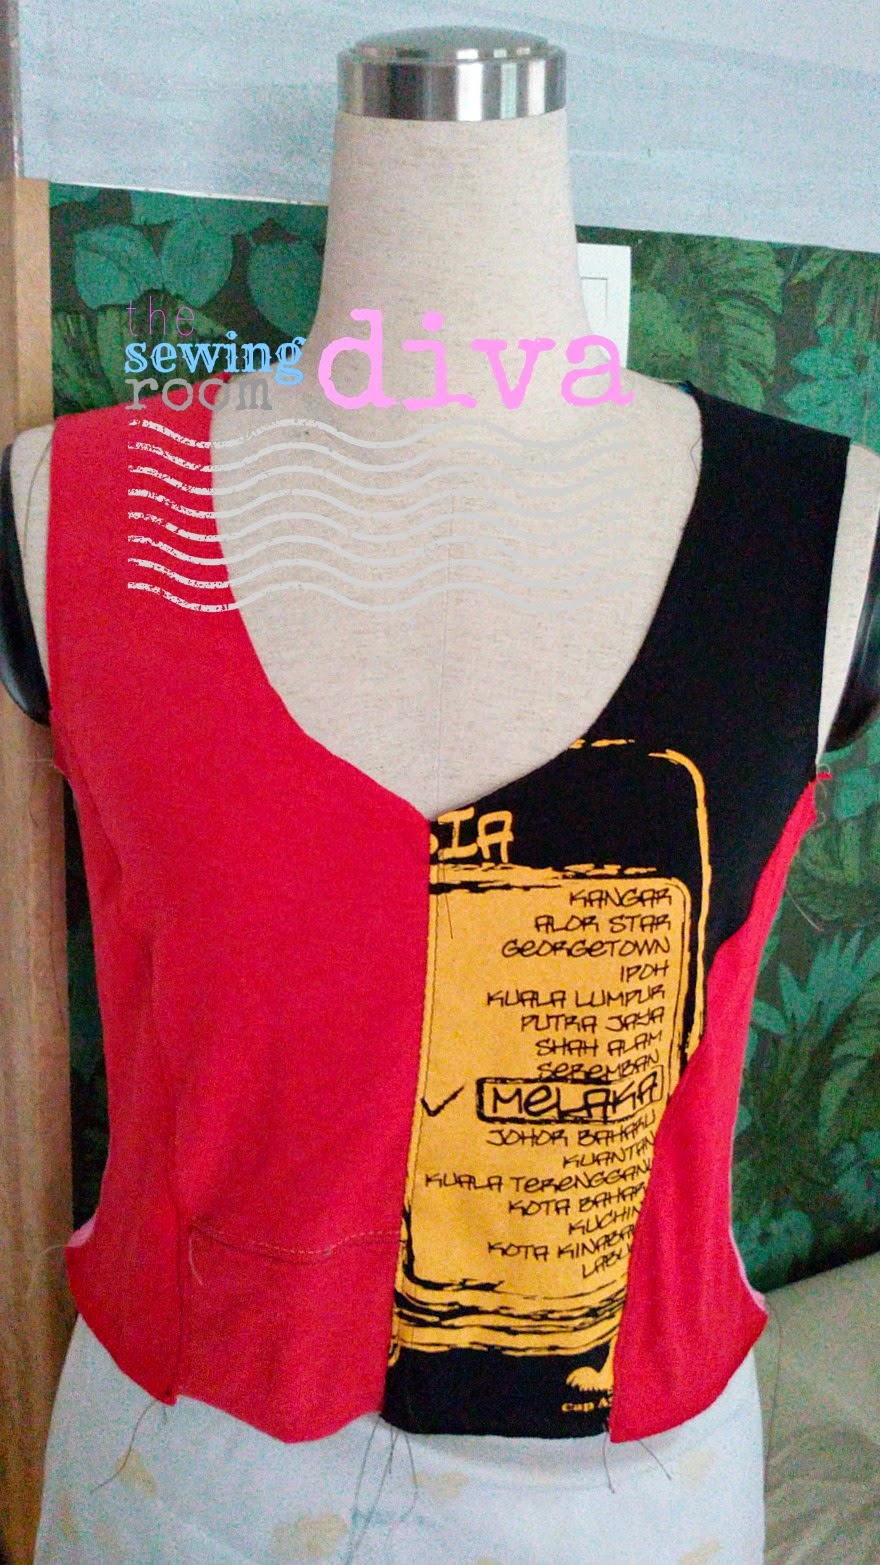
tweaked the pattern for the camisole.  i have decided on a princess cut.

here are the photos of the work in progress.  i used several old t-shirts to make the pieces.  i pieced them using my pfaff 1163....and industrial single needle lock-stitch machine.  beautiful stitches.


styling it with a scarf

side view.
love the way the armhole sits.
no gaping.

back view

front view


close-up.
lovely stitches.

another close up.
lovely stitches all the way.

lovely stitches.

i am pleased with the result.  the princess cut eliminates the gape near the bust area.  

what a spunky camisole.  wouldn't you like to try making it?


cheers,
YunY


the camisole - the 1st design is completed

the neck and armhole binding is stitched by hand.  using embroidery floss.

front view.
the centre front seam is slightly flared to accommodate the tummy.
this dressform tummy is too flat, ha ha.


side view.
showing the armhole...nice and flat.
i am pretty pleased with the result.  my only reservation is the slight gape near the bust.  i am going to insert a bust dart or cut a princess line to correct the condition.

fore more photos of the work in progress please click here, here and here.


cheers,
YunY

faaiz's new up-cycle t-shirt is completed.

here is faaiz and his new t-shirt.  nice and warm.


front view.
binding neckline by hand.


back view

it was a success.  will be making more for faaiz and aman.

click here, here and here for more photos of the work in progress.

wouldn't you like to give this try?


cheers,
YunY

Tuesday, October 21, 2014

the camisole - design no 2

i have come up with another design.  it is a princess line.  the advantage of this design.....i can use several small pieces of the recycle t-shirts to make this camisole.  more efficient in terms of material utilisation  but demands more focus and concentration to ensure that the 8-piece-panel are cut and pieced correctly.  so, here are the photos of the w.i.p.

back panel left hand side

back panel left hand side

back panel, right hand side

isn't it fun?  would you like to learn how to make them?


cheers,
YunY

Friday, October 17, 2014

Saturday, October 4, 2014

i made this denim skirt for my lil sister

i used her dress sloper that i drafted earlier. i traced the sloper from waist line down to the hip line and extended the length for a floor length skirt.

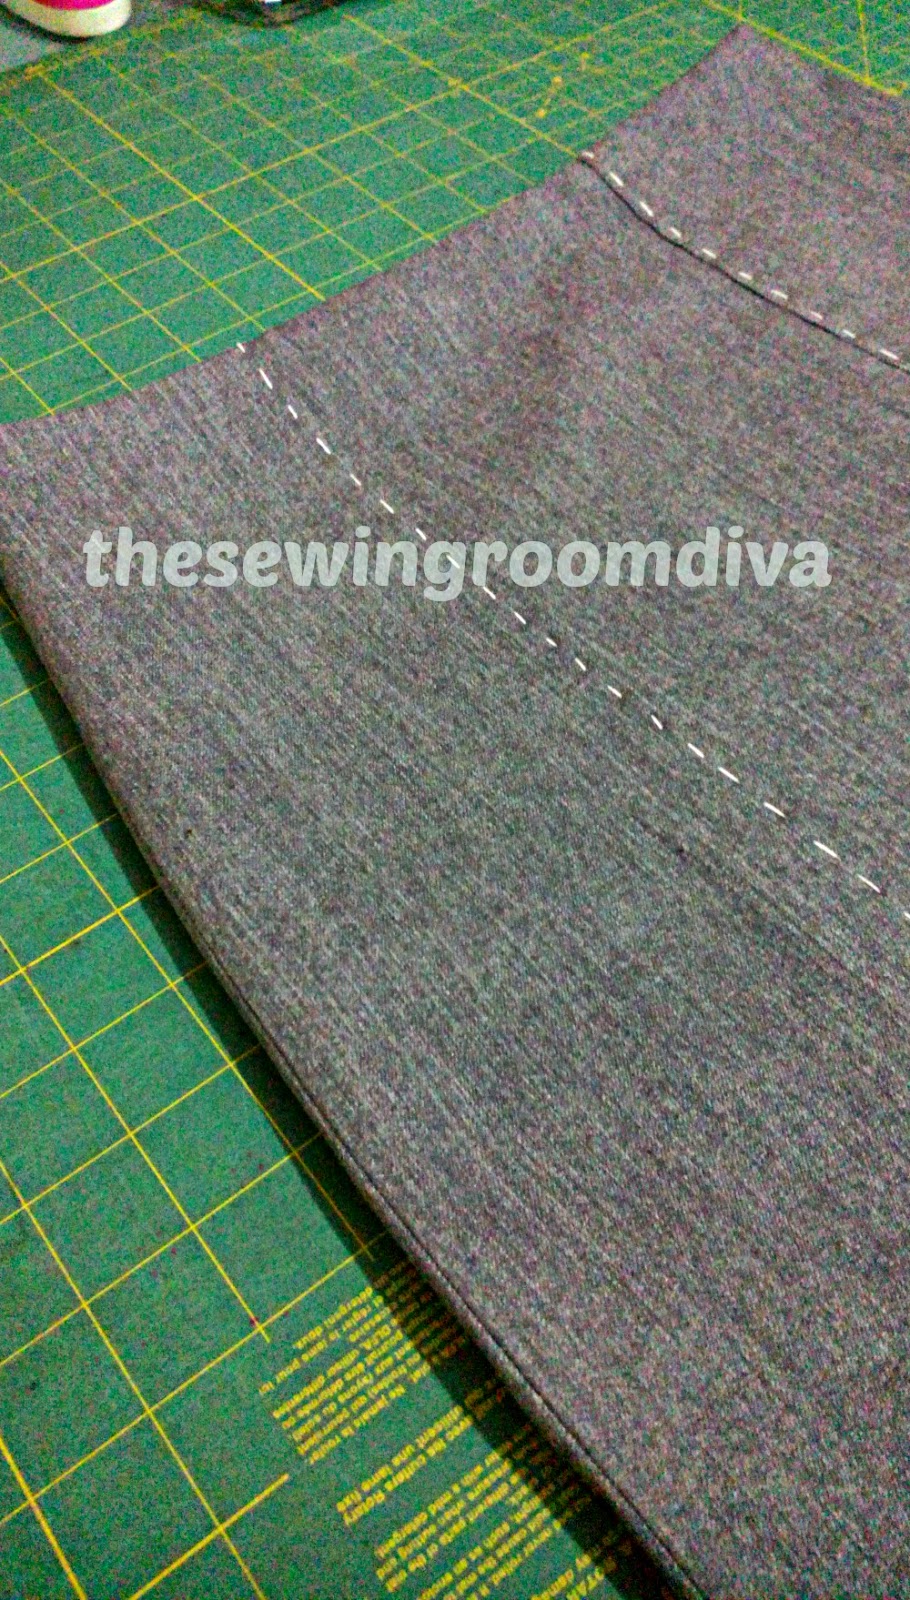
i made a 6-panel skirt in heavy denim  and installed an exposed zipper.  i used a YKK metal zipper as the denim is thick and heavy.  i used running stitches, to serve as a decorative top stitching  for the casual rustic look that i love.

i prefer to finish the waist with facings rather than a waist band.  here, i used a 100% cotton fabric.  i find that the skirt sits better on the waist with this finishing and it is comfortable too.  furthermore, it makes it easier to install the zipper.  plus, the facings offer another design interest.

so here are the photos.
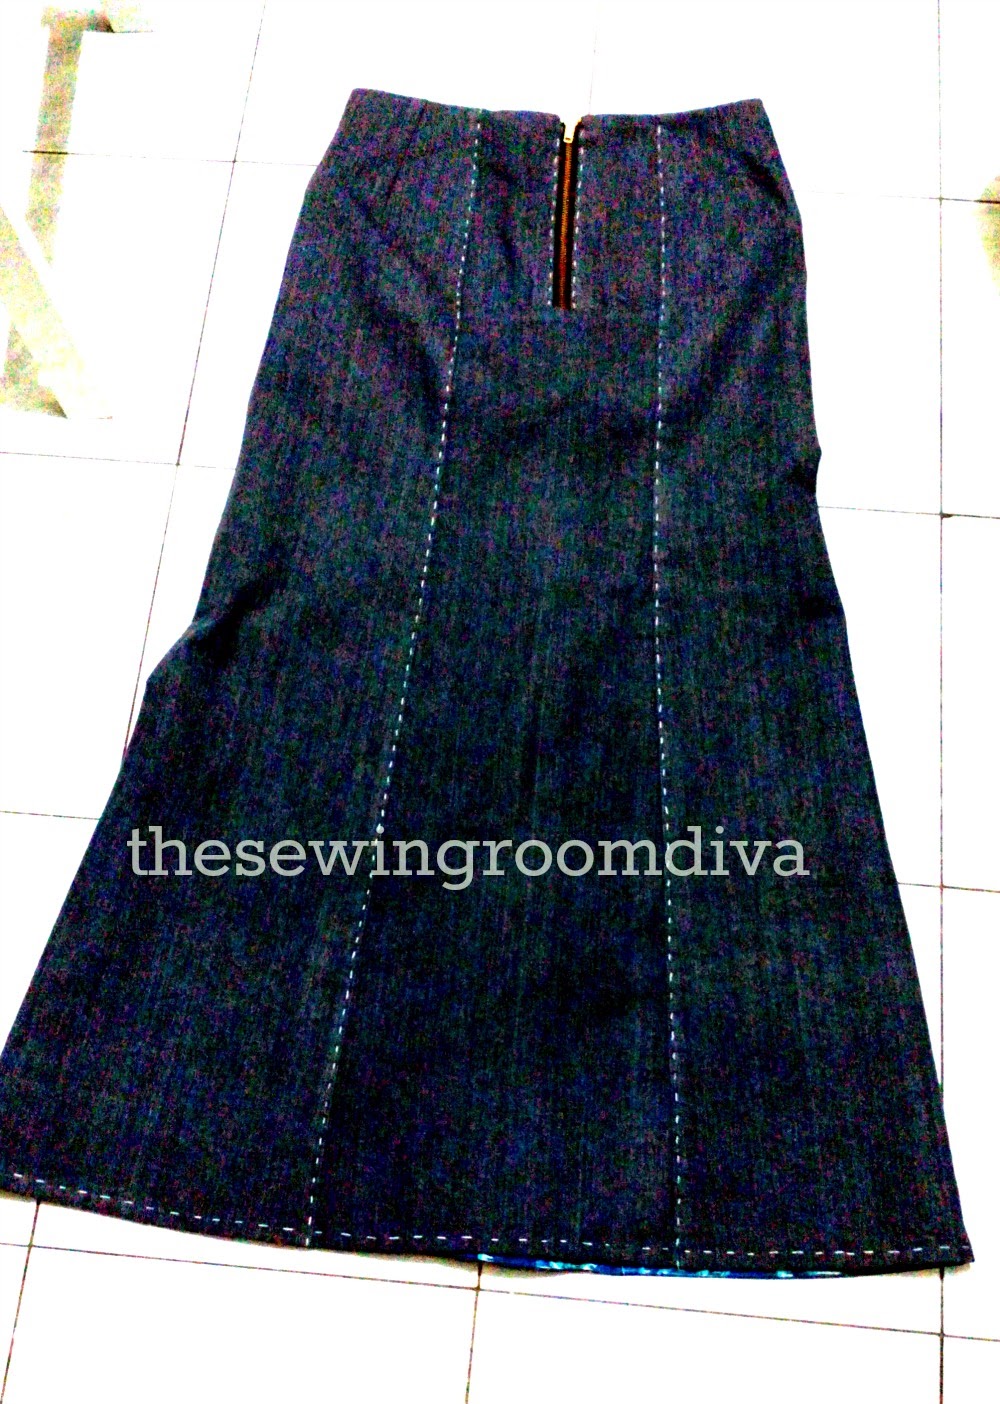
back panels

front panels 

close-up front panel

close-up back panel and the exposed zipper

the exposed zipper, the facings and the hand-sewn top stitching 


cheers,
YunY

Wednesday, October 1, 2014

here is the real thing - cutting my camisole pattern on a metre of combed cotton jersey

here are the photos of the process....making my own camisole from scratch.  cutting out the pattern using a metre of combed cotton jersey.


this is the combed cotton jersey. 


the front and back panel.
i cut, on grain, two pieces of each panel using a rotary cutter.
the cut is precise....no jagged lines.  i find that it is easier than using shears.
before cutting, i traced the pattern onto the fabric using a good quality tailors calk
(marking with light pressure, minimise distortion).
see....clean cutting lines.  


then, i pinned the back panel pieces together and sew them up at the centre back.
i use long machine stitches and a universal needle.
it worked just fine.  no puckering nor missed stitches.
then, i did the same for the front panel.

see....i told you :)

side view

front view

back view

yep.  again i am happy with the results.

now, i am off to bind the armhole and the neckline.

i'll be back with more photos.


cheers,
YunY